Are you looking to take your regular nail polish manicure to the next level? Whether you’re a DIY enthusiast or someone who simply loves a polished look, applying a gel top coat over regular nail polish can transform your nails into a long-lasting, salon-worthy masterpiece. This technique not only adds a brilliant shine but also enhances the durability of your manicure, preventing chips and fading. With just a few tools and the right technique, you can achieve professional results from the comfort of your home. Keep reading to uncover the secrets behind this game-changing nail care hack.
Many people shy away from trying this method, assuming it’s too complicated or requires expensive equipment. However, with the right guidance, the process is simpler than you might think. The key lies in understanding how gel top coats interact with regular polish and ensuring each step is executed properly. From preparing your nails to curing them under a UV or LED lamp, this guide will walk you through every detail. By the end, you’ll have all the tools and knowledge you need to confidently apply a gel top coat over your favorite regular nail polish shades.
Not only does this technique save you time and money on frequent salon visits, but it also gives you the flexibility to experiment with different colors and finishes. Whether you’re preparing for a special occasion or simply want to elevate your everyday look, mastering how to apply gel top coat over regular nail polish is a skill worth investing in. So, let’s dive into the specifics and unlock the secrets to a flawless, long-lasting manicure!
Read also:Robert Jamescolliers Wife Meet Name
Table of Contents
- Why Use a Gel Top Coat Over Regular Nail Polish?
- What Are the Essential Tools and Products You’ll Need?
- Step-by-Step Guide: How to Apply Gel Top Coat Over Regular Nail Polish
- What Are the Common Mistakes to Avoid?
- How to Fix Common Errors When Applying Gel Top Coats?
- What Are the Benefits of Using a Gel Top Coat?
- How to Maintain Your Gel Top Coat Manicure?
- Frequently Asked Questions
Why Use a Gel Top Coat Over Regular Nail Polish?
One of the biggest advantages of using a gel top coat over regular nail polish is the extended lifespan it provides. Regular nail polish typically lasts about 3–5 days before showing signs of wear, such as chipping or dullness. However, when you seal your regular polish with a gel top coat, you can extend its durability to up to two weeks or more. This is particularly beneficial for individuals with busy lifestyles who don’t have time for frequent touch-ups.
Beyond durability, a gel top coat also enhances the aesthetic appeal of your manicure. It adds a high-gloss finish that mimics the look of a professional gel manicure, making your nails appear sleek and polished. Additionally, gel top coats provide a protective barrier that shields your nails from external damage, such as water exposure or minor scratches. This makes them an excellent choice for people who frequently wash their hands or engage in activities that might otherwise compromise their manicure.
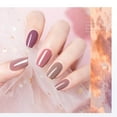
Another compelling reason to use a gel top coat is the versatility it offers. You can experiment with different nail polish colors and finishes—whether matte, metallic, or glitter—while still enjoying the benefits of a gel-like finish. This flexibility allows you to customize your manicure to suit your mood or occasion without sacrificing quality or longevity. With all these advantages, it’s no wonder that more people are turning to gel top coats to elevate their nail care routine.
What Are the Essential Tools and Products You’ll Need?
Before diving into the process, it’s crucial to gather all the necessary tools and products. Having the right items on hand ensures a smooth application and minimizes the risk of mistakes. Here’s a comprehensive list of what you’ll need:
- Regular Nail Polish: Choose your favorite shades and finishes for the base layer.
- Gel Top Coat: Opt for a high-quality gel top coat specifically designed for use with UV or LED lamps.
- Base Coat: A regular base coat helps the polish adhere better to your nails.
- UV or LED Lamp: This is essential for curing the gel top coat and ensuring it sets properly.
- Nail File and Buffer: These tools help shape and smooth your nails before application.
- Cleansing Wipes or Alcohol Pads: Use these to remove any residue or oils from your nails.
- Cuticle Pusher: This tool helps tidy up your cuticles for a clean canvas.
While it might seem like a lot, most of these items are staples in any nail care routine. If you’re new to gel manicures, consider investing in a beginner-friendly kit that includes a lamp and gel top coat. This way, you’ll have everything you need to get started. Additionally, ensure that your workspace is well-lit and free of distractions, as this will help you focus and achieve the best results.
Step-by-Step Guide: How to Apply Gel Top Coat Over Regular Nail Polish
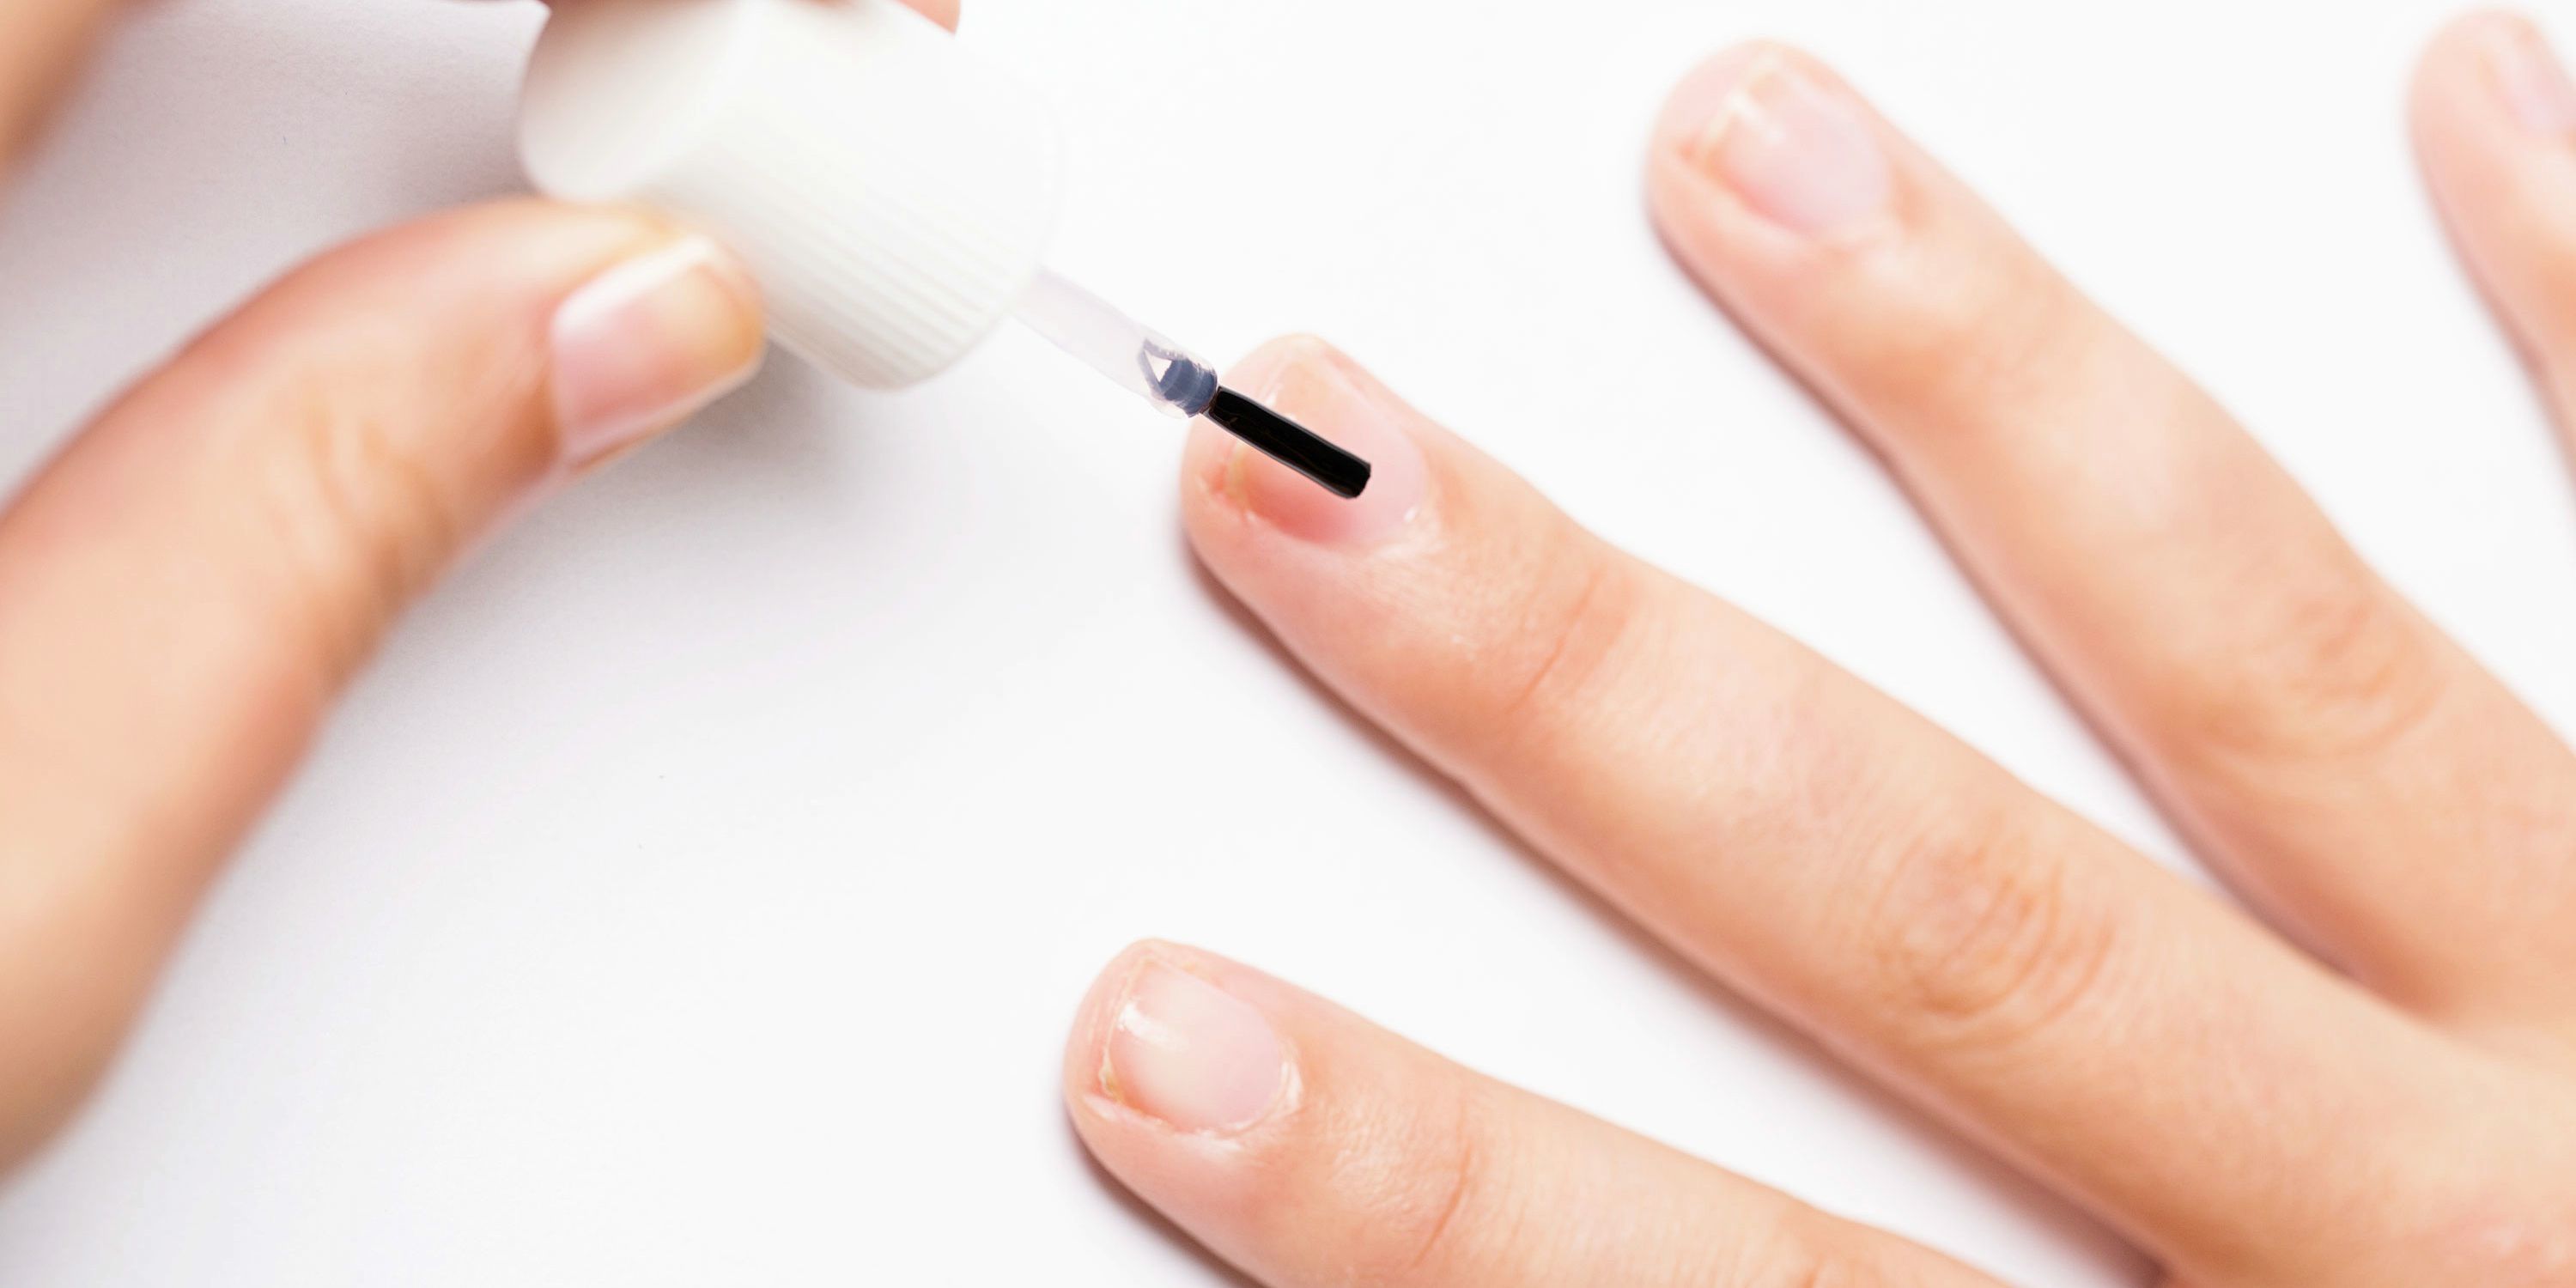
Step 1: Nail Preparation
Proper nail preparation is the foundation of any successful manicure. Start by washing your hands thoroughly to remove any dirt or oils. Next, use a nail file to shape your nails according to your preference—whether square, oval, or almond. Once shaped, gently buff the surface of your nails to create a smooth base for the polish. This step is crucial, as it helps the polish adhere better and prevents peeling.
Read also:Julie Pitt Actress Model Latest News Photos
After filing and buffing, use a cuticle pusher to gently push back your cuticles. This creates a clean canvas and ensures that the polish doesn’t get trapped under your cuticles, which can lead to uneven application. Finally, wipe your nails with a cleansing wipe or alcohol pad to remove any remaining oils or residue. Your nails are now ready for the next step!
Step 2: Applying the Base Coat
Once your nails are prepped, apply a thin layer of regular base coat. This acts as a primer and helps the polish adhere more effectively. Allow the base coat to dry completely before moving on to the next step. Skipping this step can result in polish that chips or peels prematurely, so don’t rush through it.
Step 3: Adding Regular Nail Polish
Now comes the fun part—applying your regular nail polish! Choose your desired color and apply two thin coats, allowing each layer to dry completely before adding the next. Thin layers are key to preventing streaks and ensuring an even finish. If you’re using a glitter or metallic polish, you may need an additional layer to achieve full opacity.
Step 4: Applying the Gel Top Coat
Once your regular polish is dry, it’s time to apply the gel top coat. Using a brush, apply a thin, even layer of gel top coat over your nails. Be sure to cap the tips of your nails to seal the edges and prevent chipping. Avoid applying too thick a layer, as this can lead to bubbling or an uneven cure.
Step 5: Curing Under a Lamp
After applying the gel top coat, place your nails under a UV or LED lamp for the recommended curing time, usually 30–60 seconds for LED and 2–3 minutes for UV. Once cured, your nails will have a glossy, durable finish that’s ready to withstand daily wear and tear.
What Are the Common Mistakes to Avoid?
While applying a gel top coat over regular nail polish is relatively straightforward, there are a few common mistakes that can compromise the results. One of the most frequent errors is applying the gel top coat too thickly. This can lead to bubbling or an uneven cure, which detracts from the overall appearance of your manicure.
Another mistake is skipping the curing process or not curing the gel top coat for the recommended time. Insufficient curing can result in a tacky finish or reduced durability. Additionally, failing to properly prep your nails—such as neglecting to clean them with a cleansing wipe—can lead to poor adhesion and premature chipping.
To avoid these pitfalls, take your time with each step and ensure you’re following the instructions for your specific products. With practice, you’ll develop a routine that minimizes errors and maximizes results.
How to Fix Common Errors When Applying Gel Top Coats?
Even the most experienced nail enthusiasts encounter errors from time to time. If you notice bubbling or an uneven finish after curing, don’t panic—there are ways to fix these issues. For bubbling, gently buff the affected area and reapply a thin layer of gel top coat before curing again. If the finish feels tacky, wipe your nails with a cleansing wipe and cure them for an additional 10–15 seconds.
For chipped or peeled polish, remove the damaged area with a nail file and touch up with regular polish before reapplying the gel top coat. These quick fixes can help salvage your manicure and ensure it looks flawless for longer.
What Are the Benefits of Using a Gel Top Coat?
Beyond extending the lifespan of your manicure, using a gel top coat offers several additional benefits. It provides a protective shield that prevents staining, which is especially useful when using darker polish shades. The glossy finish also enhances the vibrancy of your chosen colors, making them pop even more.
Furthermore, gel top coats are less prone to chipping compared to regular top coats, making them ideal for individuals with active lifestyles. They also offer a quick and easy way to achieve salon-quality results at home, saving both time and money.
How to Maintain Your Gel Top Coat Manicure?
To keep your gel top coat manicure looking fresh, avoid using your nails as tools to open packages or scrape surfaces. Moisturize your hands and cuticles regularly to prevent dryness, and consider applying a nourishing cuticle oil to maintain healthy nails. If you notice any lifting or chipping, address it promptly to prevent further damage.
Frequently Asked Questions
Can I Use Any Gel Top Coat Over Regular Nail Polish?
Not all gel top coats are compatible with regular nail polish. Look for products specifically designed for use over regular polish to ensure optimal results.
How Long Does a Gel Top Coat Last Over Regular Nail Polish?
With proper application and maintenance, a gel top coat can last up to two weeks or more over regular nail polish.
Do I Need a UV or LED Lamp for This Process?
Yes, curing the gel top coat under a UV or LED lamp is essential for achieving a durable and glossy finish.
In conclusion, mastering how to apply gel top coat over regular nail polish is a simple yet transformative skill that can elevate your nail care routine. With the right tools, techniques, and maintenance tips, you can enjoy salon-quality results from the comfort of your home. So why wait? Grab your supplies and get started today!
For more nail care tips and product recommendations, check out NailPro, a trusted resource for all things nails.